There are various types of faucets in sanitary ware, including bathroom faucets, washing machine faucets, thermostatic faucets, and so on. Many households have a headache when installing these faucets. It's too expensive to hire a master and they don't know how to install them themselves.
In fact, even if you master the method of installing a faucet, you can install it yourself. Today, the editor will tell you the installation methods of various faucets, so you no longer have to worry about how to install faucets in the future!
1. Pay attention to the protection of the faucet coating to avoid other metal objects damaging the faucet coating
2. When installing, tighten the hot and cold water pipes of the faucet with force, and at the same time tighten the faucet easy to install device with force
3. The installation of gaskets, as gaskets play a huge role in protecting faucets, must not be forgotten to place gaskets
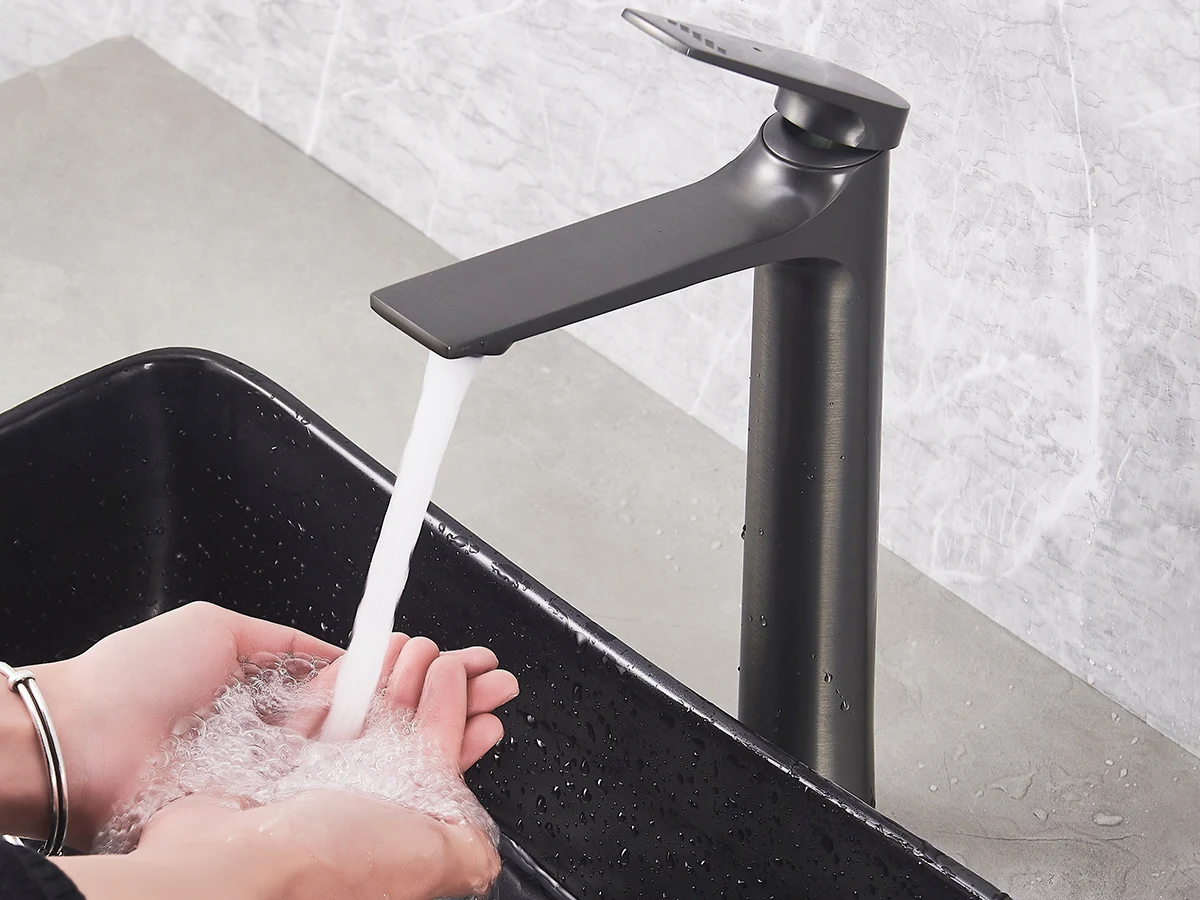
4. Place the faucet to be installed on the reserved installation port, install the sleeve, and tighten it with maximum force
After installation, open the faucet and use the largest valve to drain water, remove mud and debris from the pipeline, and clean the water pipe.
Firstly, when we buy the faucet, we will discover some basic components below;
Firstly, we put the copper buckle and a rubber pad into two hoses;
3. Then thread one end of the two pipes through the opening of the washbasin;
4. Next, insert the rubber pad into the hose, and then insert the copper wire;
5. Bring the faucet over again and screw the screw of the pipe onto the faucet;
6. Twist the copper wire onto the faucet and secure it in the opening of the porcelain basin.
TIPS: When installing, it is necessary to select a dedicated angle valve, which must be fixed to the cold and hot water pipes of the wall outlet. If the inlet pipe is too long, it can be cut off, but do not bend it hard to 90 degrees or more. When installing the basin to drain water, please do not forget to purchase the small interface of the faucet.
1. Remove the entire accessories of the faucet (tooth tube, rubber gasket, stainless steel gasket, fixing nut);
2. Thread one of the inlet pipes through the faucet opening and through the countertop;
3. Screw the already passed inlet pipe into the inlet hole below the faucet and tighten it appropriately;
4. Thread the entire removed dental canal through the inlet pipe that has been screwed into the faucet inlet;
5. Thread the second inlet pipe through the entire dental canal and screw it into another inlet under the faucet, and tighten it appropriately;
6. Align the dental tube with the bottom of the faucet and tighten it appropriately, adjust the position of the faucet, and then fix the accessories and tighten them appropriately.
Users with small solid hard lumps in tap water are not suitable for using thermostatic faucets;
If there are powdery sediment or soft foreign objects in tap water, it may reduce the sensitivity of the thermostatic valve core and shorten the service life of the thermostatic faucet;
3. Try to shorten the distance between the water heater and the faucet as much as possible, so that hot water can reach the faucet as soon as possible;
4. The normal operating water pressure is 0.05Mpa to 0.6Mpa;
5. The hot and cold water supply pipes must not be installed incorrectly. The hot water pipe must be on the left and the cold water pipe must be on the right;
6. It is necessary to clean the installation site before installing the thermostatic faucet to prevent small sand and gravel blocks from damaging the rubber ring, threads, thermostatic valve core, and other parts of the faucet;
7. Please install according to the instructions in the manual, paying special attention not to miss, lose or damage any gaskets or rubber rings;
8. The thermostatic faucet itself does not have heating function. Please adjust the water temperature of the water heater to 60 ℃~85 ℃;
9. The showerhead and showerhead tube cannot withstand high temperatures above 60 ℃;
10. After each use, please make sure to adjust the water temperature knob on the left to below 40 ℃;
If the water pressure difference between hot and cold water is too large, please adjust the valve of the bracket with a screwdriver. Families using gas water heaters need to pay more attention to this.
When installing this faucet, it is necessary to ensure that its sensing window is facing downwards and at least 25CM away from the bottom of the sink, otherwise it will affect its sensing sensitivity.
2. To ensure the installation of the sensor faucet, turn off the water source at the inlet where the faucet is to be installed.
3. Take out the faucet body from the packaging, wrap the thread of the water inlet on the faucet body with raw material tape or anti leakage glue, and screw the faucet body into the wall where the water inlet pipe should be fixed.
4. Remove the battery box cover on the protruding part of the top cover of the sensing faucet body, carefully pull out the battery box inside, and insert 4 new No. 3 alkaline batteries into the positive and negative poles according to the instructions. At this time, the sensing window red light on the faucet body will keep flashing. After the sensing window red light on the faucet body stops flashing, push it into the battery box and lock it, so that the faucet body is considered installed.
5. Open the water source at the location where the faucet is to be installed for testing, and adjust the water output with the water valve knob. If there are no problems, it can be put into use.
TIPS: In home decoration, besides general decoration, the most important thing is the decoration of hardware components, and faucets belong to one of them. The installation of faucets directly affects people's physical health.
So whether it's bathroom faucets, kitchen faucets, or washing machine faucets, the installation process must follow the rules and be doubly careful. I hope this article's introduction has given you a certain understanding of faucet installation.
After purchasing a concealed faucet, it is generally necessary to embed the valve core of the faucet in the wall
2. Before embedding, be sure to pay attention to the thickness of the bathroom wall. If the wall is too thin, the valve core will not be able to be pre embedded
3. Do not easily remove the plastic protective cover of the valve core during pre embedding to avoid damage to the valve core caused by cement and other miscellaneous items during pre embedding
4. In addition, when embedding the valve core, attention should also be paid to the up and down, left and right directions of the valve core to avoid burying it incorrectly
5. If there is a deviation in the size of the pre embedded water inlet pipe for wall mounted faucets, an adjustable lever can be used for calibration.
TIPS: After purchasing a shower, bathtub, or wall mounted faucet, you can choose the appropriate height to bury the water pipe. The distance between hot and cold water pipes must reach 15 centimeters. Before installation, be sure not to forget to flush the water pipe to prevent the water from becoming too hard and causing damage to the faucet.
TIPS: The sealing ring of the inlet filter and connector should be installed well, and the tightening force should not be too strong to avoid damaging the threads. The water supply pressure should be between 30kpa and 1000kpa. If it exceeds the range, a pressure reducing or boosting device should be used. After installation, it should be carefully checked to avoid water leakage.